My Process
I've been asked so many questions about My Process, what I do and how I do it, that I've decided it's easier to share the many steps that take my photography to a new place infused with new colors here. Read on…
Step 1 - Image Choice
For years I have been experimenting with “completing” my photographs that I felt were not finished. The original photo may need some slight tweaking - basic editing including, leveling, cropping, color correction etc. - or I may be looking to just use one section of a bigger photo. Already at this stage, I am thinking of the palette of colors that I’ll use when block-printing on the photograph.
Step 2 - Block Idea
Sometimes the idea for the block that I’ll use to print over the photo will be because I like its shape or form, while other times the idea is directly inspired by the photo - think of the bouquet of sardines in my Nicks Cove pieces. I outline the idea on a block and then it’s on the carving…
Step 3 - Block Carve
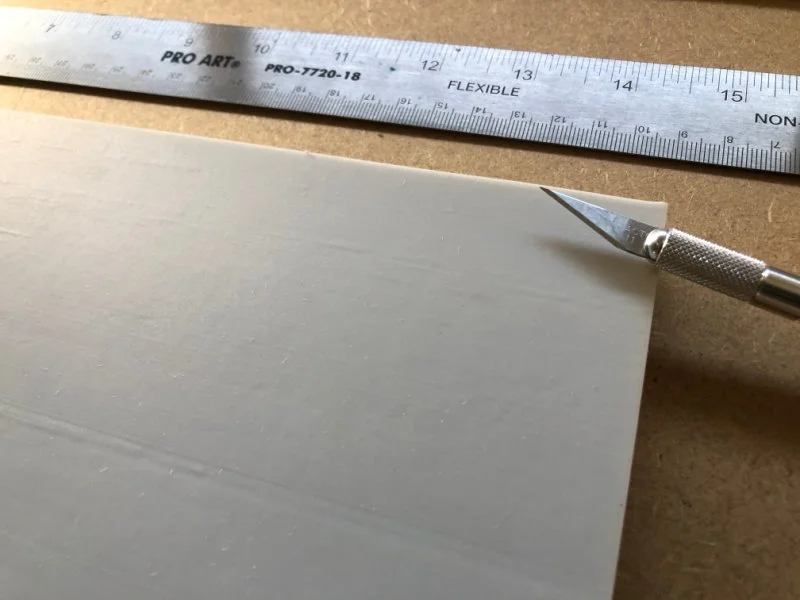
Slowly and methodically I start carving the block. It can take many hours to get the block to where I want it to be so I generally do this carving over three or four sittings. While carving, I’m looking to ensure that there is a balance of positive and negative space while considering the photographic image it will be printed on. If I’ve missed the balance or additional carving will not get me to the block image I’ve imagined, I’ve been known to move on to a fresh block and carve it again!
Step 4 - Block Print Test
Once the block print is fully carved and I’m happy with it, I test it to check details and also to see how it will work when printed over the photo. I do some test prints in black ink on scrap paper and then lay these out over the photo. This allows me my first visual look of the block print on top of the photo so that I know they will work in harmony with each other.
Step 5 - Color Spectrum Choice and Color Test Print
Then it’s on to the fun! Which color(s) will I use in the color palette for the block print, and how will I create the spectrum of colors that I’m looking for with my inks. As soon as I’ve chosen a photograph to enlarge, I start pondering colors to block print it with. No surprise, different color palettes can totally change a finished piece. Once I’ve made my mind up I set out my colors, blend them, and do a color test print to make sure my vision of the colors is translating.
Step 6 - Block Printing Process
Ink the block, print it on the photo…ink the block, print it on the photo…methodically until the photo is covered by the block prints. Cohesive consistency of the range of ink colors must be monitored throughout the printing process as each color brings a different consistency.
Step 7 - Drying Time
Safely spreading the printed pieces out, they rest. Depending on the ambient temperature and humidity, it can take up to a week for the printing inks to be completely dry.
Step 8 - Finished Article
Once a piece is finished, it’s off to the scanner. Super high-resolution files allow me to upload it to the site for sale and to make giclee prints (max of 25 per image) that are also for sale!


